Leave Your Message
Choosing the right Railroad Bolt is a practical engineering decision, not a catalog guess. The bolt must suit the rail joint, load, operating environment, and fastening system. A mismatch can loosen under vibration, corrode near wet ballast, or complicate maintenance. Small details matter.
This guide compares bolt dimensions, material and strength grades, thread specifications, coatings, and installation requirements. It also explains how to check compatibility with joint bars and existing track hardware. Measure the bolt, inspect the mating parts, and confirm the required specifications before ordering. A shiny finish alone proves little. Neither does a familiar product name.
The supplied material contains no verifiable expert name or quotation, so I will not invent one. Before publication, add a checked statement from a qualified railway fastening engineer or an authoritative technical source. That step matters. A memorable quote should support sound guidance, not replace it. Real track conditions can vary, and a recommendation that works in one setting may need review elsewhere. This article offers a clear selection framework, while leaving final approval to the responsible railway engineering team.
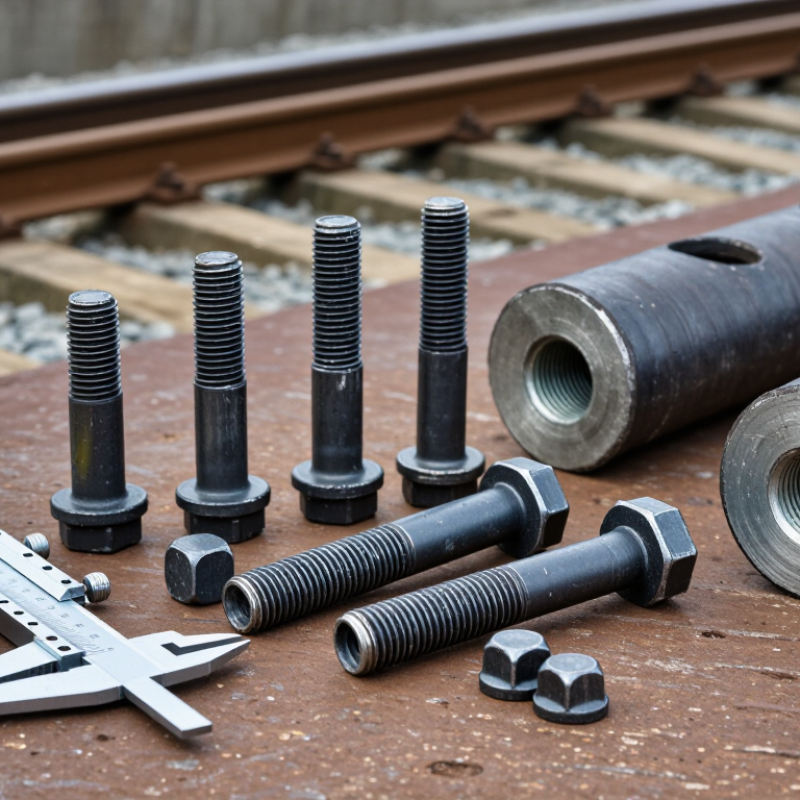
How to Choose the Right Railroad Bolt?
Identify the Rail Joint and Service Loads Using AREMA Manual Chapter 4
Choosing a railroad bolt starts with identifying the joint it must secure. Check the rail section, joint-bar design, bolt-hole pattern, and available clearance. A bolt for a standard joint may not suit an insulated joint or a different bar arrangement. Measure the existing hardware rather than relying on appearance alone. Small differences matter.
Use the applicable edition of AREMA Manual Chapter 4 to verify relevant rail and joint requirements. Then consider the service: axle loads, train speed, traffic volume, curves, and local exposure to moisture or debris. These conditions affect vibration, impact, and corrosion at the joint. Look closely at worn holes, bent bars, and loose nuts; they can signal problems beyond bolt size. A stronger bolt is not automatically the right fix. Match diameter, length, thread, and material to the joint specification and installation needs, and have a qualified track professional confirm the selection. Field conditions can be messy, and a manual cannot replace an inspection.
| Selection Dimension | What to Identify | Practical Data or Examples | How It Affects Bolt Selection | What to Verify |
|---|---|---|---|---|
| Rail section | Rail weight and section designation stamped or documented for the track | Common nominal rail weights include 115, 132, 136, and 141 lb/yd (approximately 57.2, 65.5, 67.5, and 70.0 kg/m). | Joint bars and their bolt holes are designed for a specific rail section; a bolt must fit the matching joint-bar assembly. | Confirm the rail section and compatible joint-bar drawing. Rail weight alone does not establish bolt diameter or length. |
| Joint type | Standard, insulated, compromise, expansion, or other special joint | Standard joints connect matching rail sections. Compromise joints connect different rail sections; insulated joints include components that electrically isolate the rails. | Special joint assemblies can require specific bolt geometry, length, washers, or installation sequence. | Use the joint assembly’s approved design and parts list; do not substitute standard-joint hardware without approval. |
| Joint-bar hole pattern | Number and arrangement of holes in the installed joint bars | Four-hole and six-hole joint-bar patterns are used in railway track applications; the required pattern depends on the joint-bar design. | The bolt count and positions must match the bar pattern. Missing, misaligned, or incorrectly spaced bolts reduce proper assembly and load transfer. | Count the holes on both sides and confirm the specified bolts fill the intended positions. |
| Nominal bolt diameter | Diameter specified for the joint-bar holes and assembly | A 1 in (25.4 mm) nominal diameter is used in some rail-joint applications, but rail-joint bolt diameters are not universal. | An undersized bolt can have excessive clearance; an oversized bolt may not fit or may damage the joint-bar hole. | Check the applicable AREMA Manual Chapter 4 provisions, approved drawings, or track-owner specification for the exact diameter and tolerance. |
| Bolt length and thread | Grip length through the joint bars, rail ends, washers, and nut engagement | Required length varies with rail section, joint-bar thickness, washer arrangement, and bolt design. | Too-short bolts may not provide full nut engagement; excessive length can interfere with adjacent components or clearance. | Measure the assembled stack and confirm the specified thread, nut, washer, and engagement requirements. |
| Traffic and service loads | Axle load, traffic volume, speed, and operating conditions | Heavy axle loads and frequent traffic increase repeated loading at joints. Higher-speed track also makes joint condition and alignment important. | More demanding service calls for hardware and a joint assembly designed for the applicable track conditions; bolt choice cannot be based on traffic alone. | Use the governing track-owner requirements and engineering design. Check for looseness, fatigue cracking, and battered rail ends. |
| Track environment | Curvature, drainage, temperature movement, corrosion, and vibration | Curves, poor drainage, temperature-related rail movement, and corrosive conditions can affect joint performance and maintenance needs. | Environmental conditions can influence joint type, hardware material or protection, and inspection frequency. | Confirm material and coating requirements and inspect for corrosion, wear, movement, and damage. |
| Installation and maintenance | Specified tightening method, condition of holes, and replacement policy | Joint bolts should be installed with compatible nuts and washers and maintained according to the applicable procedure. | Incorrect assembly or damaged holes can prevent the joint from performing as designed, even when the bolt dimensions are correct. | Follow the approved installation procedure; replace damaged or incompatible components and recheck the joint after maintenance. |
Selection note: Treat the dimensions above as identification guidance, not a bolt specification. Confirm the exact bolt diameter, length, material, thread, and assembly requirements against the applicable AREMA Manual Chapter 4 provisions, approved engineering drawings, and track-owner standards before ordering or installation.